Mountain biking is exciting and adventurous sport, but encountering flat tire can quickly dampen the experience. Knowing how to change a mountain bike tire is an essential skill that every rider should possess. Whether you’re a beginner or a seasoned rider, this step-by-step guide will walk you through the process of replacing a tire on your mountain bike, allowing you to get back on the trails in no time.
To change a mountain bike tire, deflate it completely, remove the wheel from the bike, then carefully remove the old tire and replace it with a new one, ensuring proper alignment before inflating the tire.
Introduction
When it comes to mountain biking, the tires play a crucial role in providing traction, stability, and control on different terrains. Over time, tires can wear out or get damaged, leading to a decline in performance and an increased risk of flats. Learning how to change a mountain bike tire will empower you to address tire-related issues quickly and efficiently.
Understanding the Components of a Mountain Bike Tire
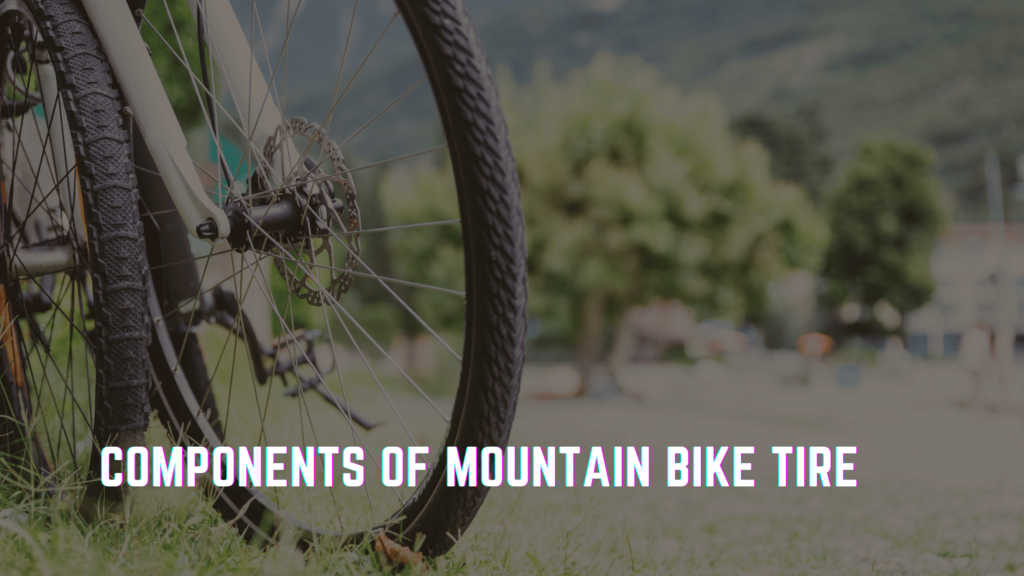
Before diving into the process of changing a mountain bike tire, it’s essential to understand the different components that make up a tire and how they affect your ride.
Tire Size and Width
Mountain bike tires come in various sizes and widths, catering to different riding styles and terrains. The size of the tire is denoted by a combination of numbers printed on the sidewall, such as 26″, 27.5″, or 29″. The width of the tire, measured in inches, influences the tire’s traction and stability.
Tread Pattern
The tread pattern on a mountain bike tire determines its performance on different surfaces. Tires with aggressive and knobby tread patterns offer excellent grip on loose or muddy terrain, while tires with smoother treads are better suited for hard-packed trails or pavement.
Tire Pressure
Maintaining the correct tire pressure is vital for optimal performance. It affects the bike’s handling, rolling resistance, and overall comfort. Always refer to the manufacturer’s recommended tire pressure guidelines.
Assessing the Need for Change a Mountain Bike Tire
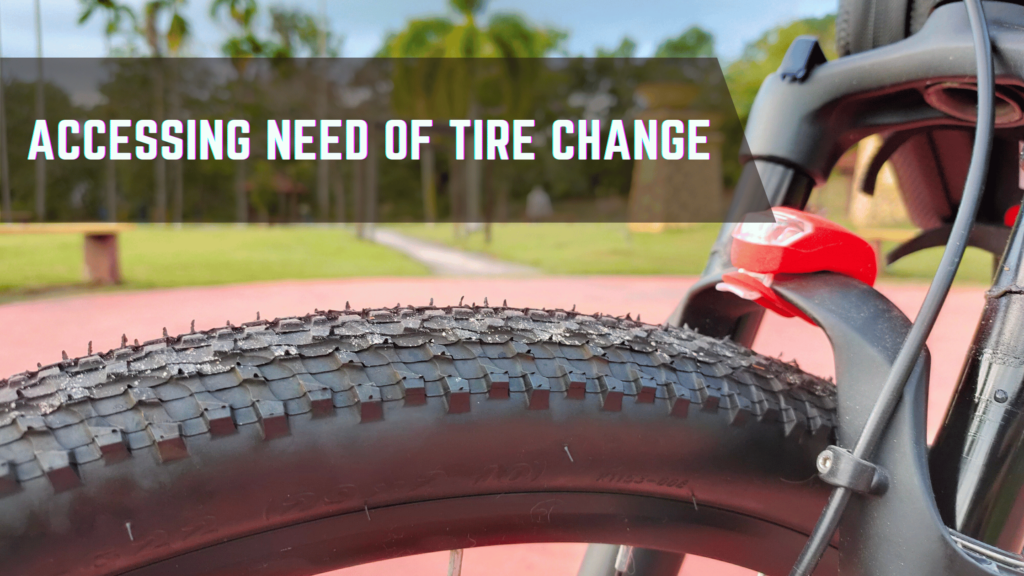
Before embarking on the tire-changing process, it’s essential to assess whether your tire needs replacement or repair.
Wear and Tear
Inspect the tire for signs of wear, such as excessive tread wear, sidewall damage, or cracks. If the tire shows significant signs of wear, it’s time to replace it with a new one.
Punctures or Damage
If you frequently encounter punctures or notice cuts, gashes, or other damage that compromises the integrity of the tire, it’s advisable to replace it to avoid potential blowouts or flats during your rides.
Gathering the Necessary Tools and Equipment
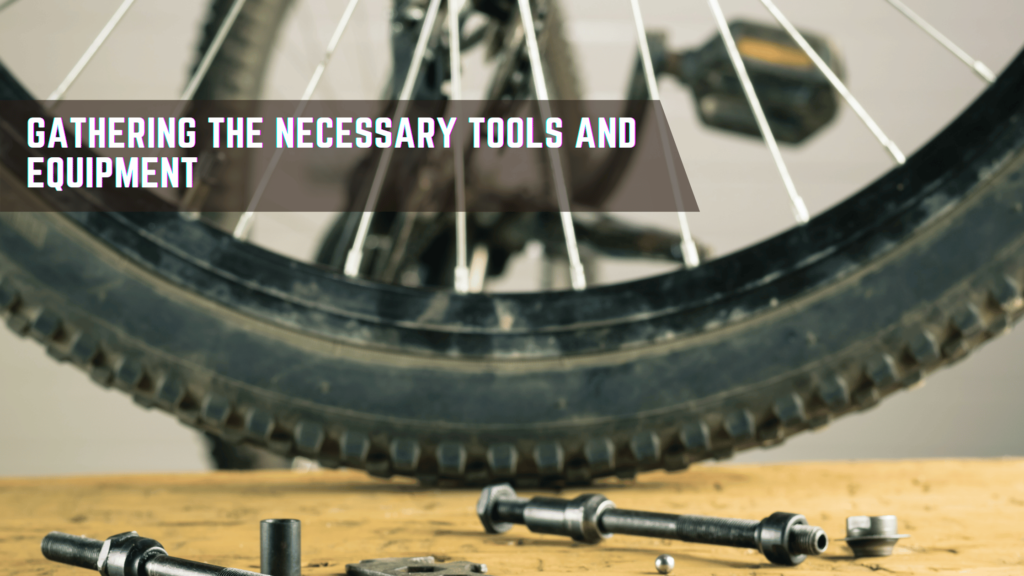
To change a mountain bike tire, you’ll need a few tools and equipment readily available. Gather the following items before you begin:
Tire Levers
Tire levers are essential for removing the tire from the rim. These small, sturdy tools help you pry the tire away from the rim without damaging the inner tube.
New Tire
Have a new tire of the appropriate size and width ready for installation. Ensure it is compatible with your rims and suits your riding style and terrain preferences.
Pump or CO2 Inflator
You’ll need a pump or a CO2 inflator to inflate the new tire once it’s installed. Check the recommended tire pressure for your specific riding conditions.
Removing the Old Tire
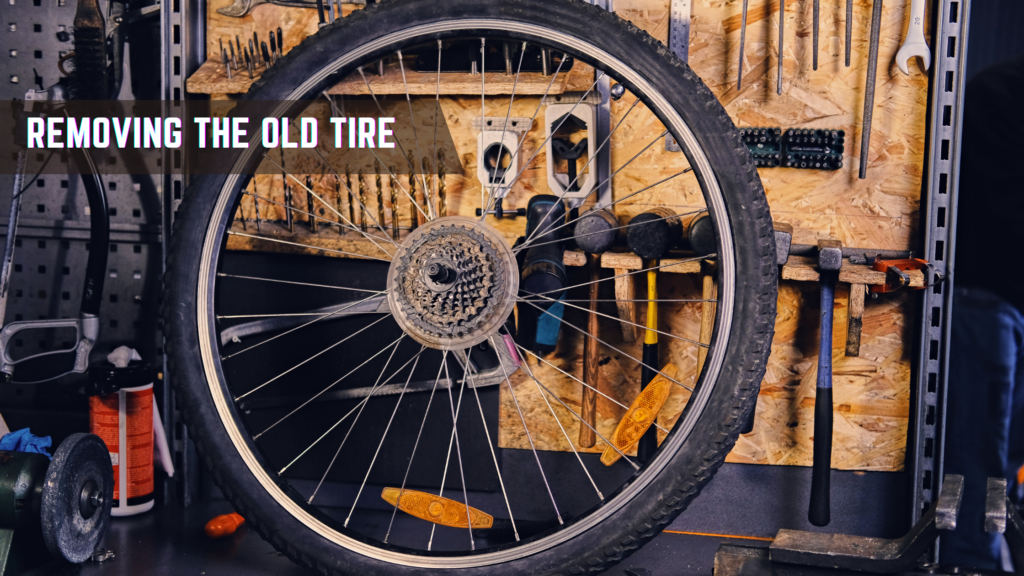
Removing the old tire is the first step in the tire-changing process.
Deflating the Tire
Using a valve core remover or simply pressing down on the valve, deflate the tire completely before attempting to remove it.
Loosening the Bead
With the deflated tire in place, use your hands to push both sides of the tire towards the center of the rim, loosening the bead from the rim’s edge. This step makes it easier to remove the tire with the help of tire levers.
Using Tire Levers to Remove the Tire
Insert a tire lever between the rim and the tire bead, hooking it onto one of the spokes. Apply leverage to lift the bead over the edge of the rim. Repeat this process at intervals until the entire bead is free from the rim. Be cautious not to pinch or damage the inner tube with the tire lever.
Installing the New Tire
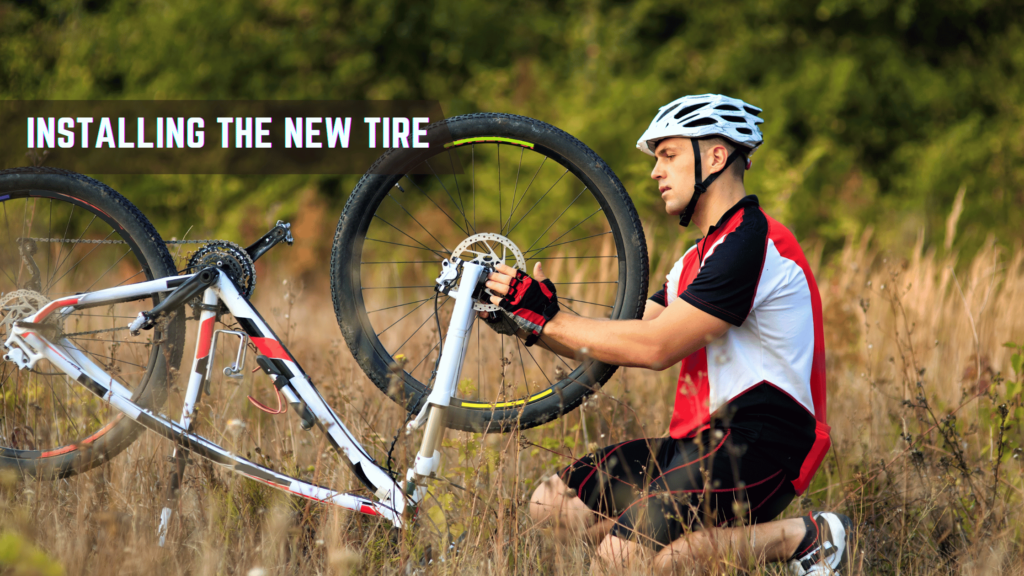
Once you’ve successfully removed the old tire, it’s time to install the new one.
Applying Lubrication
Before mounting the new tire, apply a small amount of lubrication, such as soapy water or a specific tire mounting fluid, to the rim’s inner edge. This lubrication aids in the smooth installation of the tire.
Placing the New Tire onto the Rim
Starting opposite the valve stem, push one side of the tire bead onto the rim. Using your hands, work your way around the rim, gradually pushing the bead onto the rim until it’s fully seated. Be careful not to pinch the inner tube between the tire and the rim.
Inflating the Tire
Using a pump or a CO2 inflator, inflate the tire gradually while periodically checking its position on the rim. Ensure that the tire is evenly seated on both sides and that the bead is securely in place.
Checking Tire Pressure
Once the tire is inflated, check the tire pressure using a pressure gauge. Adjust the pressure as per the manufacturer’s recommended guidelines to achieve the desired performance characteristics.
Testing the Tire Installation
After installing the new tire and setting the correct tire pressure, it’s essential to test the tire’s installation before hitting the trails. Spin the wheel and visually inspect the tire to ensure it runs true and doesn’t rub against the frame or fork. Additionally, perform a quick test ride to confirm that the bike handles well and there are no unusual vibrations or noises.
Tips for Preventing Future Tire Issues
To minimize the chances of encountering tire-related problems in the future, consider the following tips:
- Regularly inspect your tires for signs of wear and tear.
- Maintain the appropriate tire pressure for your riding style and trail conditions.
- Avoid riding through sharp objects or rough terrain that may cause damage.
- Consider using tire sealant to reduce the risk of punctures and flats.
- Carry a spare tube and tools necessary for on-trail repairs.
Conclusion
Learning how to change a mountain bike tire is a valuable skill that every rider should possess. By following the step-by-step process outlined in this guide, you can quickly and effectively replace a tire, ensuring a safe and enjoyable riding experience. Remember to inspect your tires regularly, maintain proper tire pressure, and take necessary precautions to minimize future tire issues.
Related Topics:
- When to Replace Mountain Bike Tires: A Comprehensive Guide | 2023
- Presta vs Schrader: Best Guide of 2 Bike Tire Valve Types
- Top Mongoose Argus Fat Tire Bikes Reviewed: Find Your Perfect Ride in 2023
- Mongoose Dolomite Vs Malus Fat Tire – Best Comparision
- Can You Put Road Bike Tires On Mountain Bike?
FAQs
1. How often should I change my mountain bike tire?
The lifespan of a mountain bike tire varies depending on factors such as riding frequency, terrain, and tire quality. As a general guideline, consider replacing your tires when you notice significant wear, sidewall damage, or a high number of punctures.
2. Can I change a mountain bike tire without tire levers?
While it’s possible to change a tire without tire levers, using them significantly simplifies the process and reduces the risk of damaging the inner tube. Tire levers provide the necessary leverage to remove tight-fitting tires from the rim.
3. Should I replace both tires at the same time?
It’s not always necessary to replace both tires simultaneously. If only one tire is worn out or damaged, you can replace it individually. However, keep in mind that replacing both tires simultaneously ensures balanced performance and avoids any mismatch in tread pattern or tire characteristics.
4. Can I repair a punctured mountain bike tire instead of replacing it?
Minor punctures can often be repaired using a tire patch kit. However, larger cuts, gashes, or sidewall damage may require tire replacement for safety reasons. Assess the severity of the damage and consult a professional if needed.
5. Are all mountain bike tires compatible with any rim?
No, not all mountain bike tires are compatible with any rim. Pay attention to the tire size and width specifications recommended for your rims. Using tires that are too narrow or too wide for your rims can compromise performance and safety.