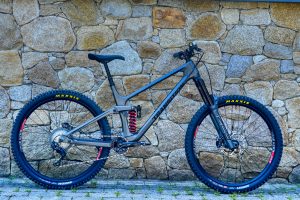
Transition Sentinel Coil Setup: In the world of mountain biking, the search for the perfect suspension setup is an ongoing journey. Transition Sentinel, a renowned name in the industry, has gained popularity for its exceptional coil shock setup. Embracing the coil shock on your Transition Sentinel can provide you with enhanced control, traction, and an overall improved riding experience. In this article, we’ll delve into the world of coil shocks, exploring their benefits, and provide you with valuable setup tips to help you get the most out of your Transition Sentinel.
Introduction
Mountain biking enthusiasts constantly seek ways to push their boundaries and enhance their biking experience. Transition Sentinel, with its innovative coil shock setup, offers riders the opportunity to elevate their rides to a new level of performance and enjoyment. This article serves as your comprehensive guide to embracing the Transition Sentinel coil shock setup.
Understanding Coil Shocks
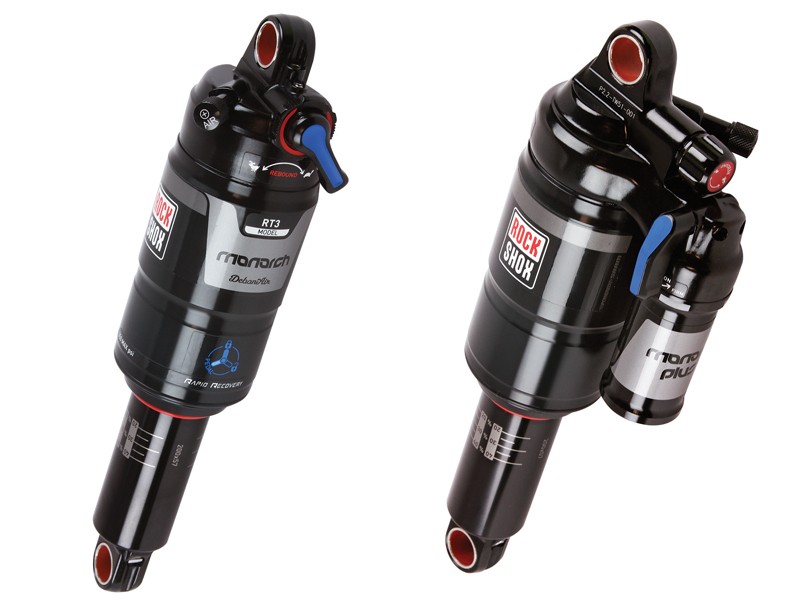
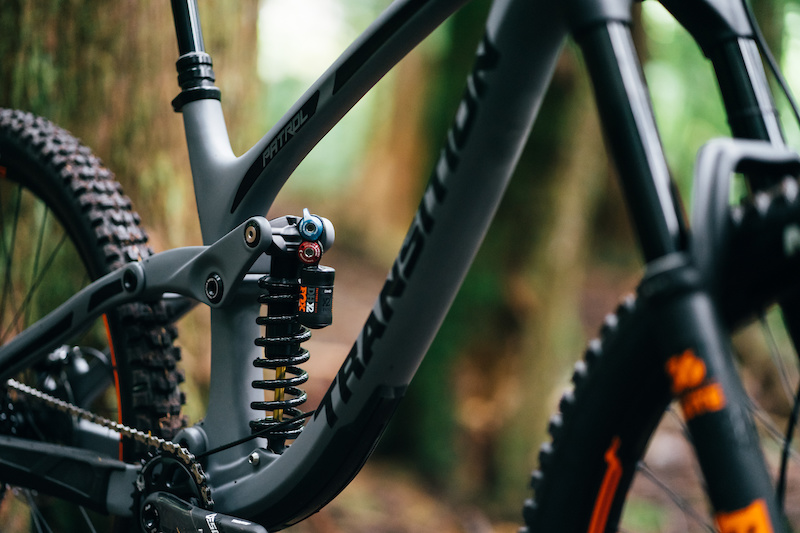
Coil shocks, in contrast to air shocks, rely on a metal coil spring to absorb impact and provide suspension. This mechanism offers several advantages that contribute to a smoother and more controlled ride.
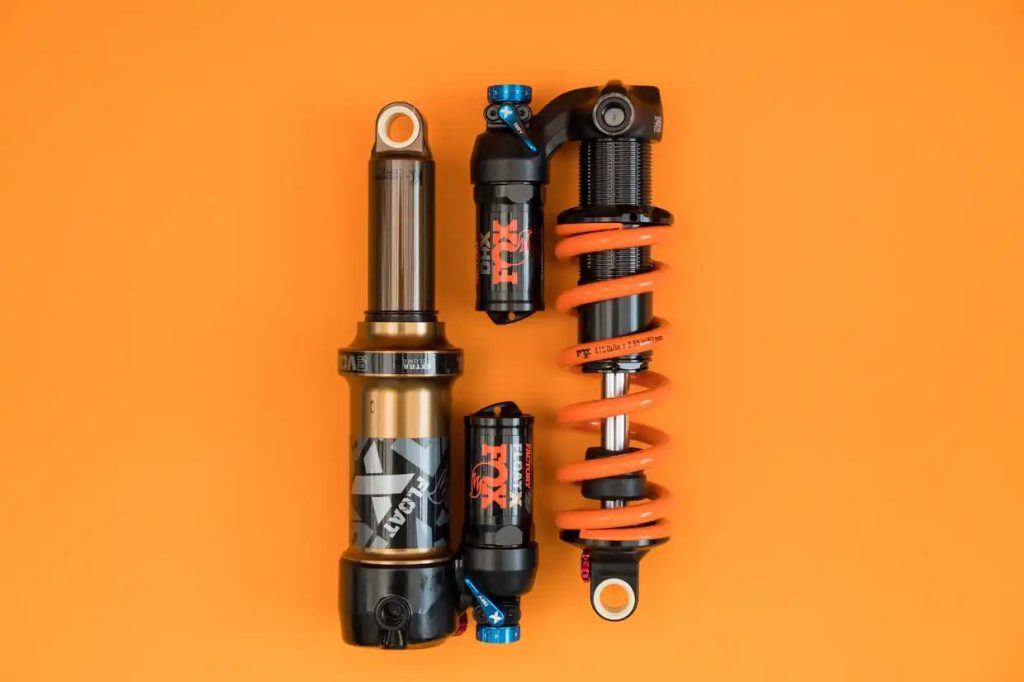
Benefits of Embracing Coil Shocks
Enhanced Traction
Coil shocks offer unparalleled traction, particularly when tackling challenging terrains. The consistent and linear spring rate ensures that the tire maintains better contact with the ground, translating to improved grip and control.
Improved Small Bump Sensitivity
Small bumps and vibrations can significantly affect the overall comfort and control of a ride. Coil shocks excel in absorbing these small impacts, resulting in a smoother and more enjoyable ride.
Consistent Performance
Unlike air shocks that can experience changes in performance due to temperature fluctuations, coil shocks maintain their consistency regardless of the weather conditions. This predictability enhances your confidence and control while riding.
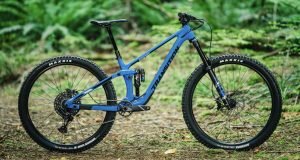
Transition Sentinel: An Overview
The Transition Sentinel is a versatile and capable trail bike designed to handle a variety of terrains. With its compatibility for both air and coil shocks, riders have the flexibility to tailor their suspension setup according to their preferences and riding style.
Transitioning to Coil Shocks: Things to Consider
Compatibility Check
Before transitioning to a coil shock setup, ensure that your Transition Sentinel is compatible with coil shock installation. Check the frame’s specifications and the manufacturer’s recommendations.
Spring Rate Selection
Selecting the right spring rate is crucial for optimizing your coil shock’s performance. Factors like rider weight, riding style, and terrain should be considered when choosing the appropriate spring rate.
Setting Sag Correctly
Achieving the right sag percentage is essential for an effective coil shock setup. Follow the manufacturer’s guidelines to set the correct sag, which influences the initial suspension travel.
Step-by-Step Coil Shock Setup Guide
1. Removing the Air Shock
Begin by removing the existing air shock from your Transition Sentinel. Follow the manufacturer’s instructions for proper removal.
2. Preparing for Coil Shock Installation
Clean the shock mount and frame area thoroughly. Apply any necessary hardware or adapters provided with the coil shock.
3. Installing the Coil Shock
Carefully install the coil shock into the shock mount following the manufacturer’s guidelines. Ensure proper alignment and secure attachment.

4. Adjusting Rebound and Compression
Fine-tune the rebound and compression settings based on your riding preferences and terrain. Start with the recommended settings and make gradual adjustments to find your optimal setup.
Pros:
- Enhanced Traction: Coil shocks provide superior traction by maintaining consistent contact between the tire and the ground. This improved grip enhances control, especially on challenging terrains.
- Smooth Small Bump Sensitivity: Coil shocks excel at absorbing small bumps and vibrations, resulting in a smoother and more comfortable ride. This is particularly beneficial on rough trails and rocky sections.
- Predictable Performance: Coil shocks offer consistent performance regardless of temperature changes. This predictability enhances rider confidence and control, allowing you to push your limits with ease.
- Durability: The construction of coil shocks makes them robust and less prone to damage compared to air shocks, which can sometimes suffer from leaks or other issues.
- Downhill Dominance: Coil shocks are often favored for downhill riding due to their ability to handle high-impact situations and provide a stable platform during aggressive descents.
Cons:
- Weight: Coil shocks are generally heavier than their air counterparts. This added weight might impact the bike’s overall weight and responsiveness, particularly during climbs.
- Limited Adjustability: While coil shocks can be fine-tuned, they often offer fewer adjustments compared to air shocks, limiting your ability to tailor the suspension to various trail conditions.
- Initial Cost: Transitioning to a coil shock setup may involve higher initial costs, including the purchase of the shock itself and any necessary adapters or hardware.
- Less Efficient Climbing: The added weight of the coil shock can make climbing less efficient, requiring more effort to pedal uphill compared to a lighter air shock.
- Compatibility Issues: Not all bikes are designed to accommodate coil shocks. It’s crucial to ensure that your frame is compatible before making the switch.
Transition Sentinel geometry
| Size | Small | Medium | Large | X-Large |
| Reach (mm) | 430 | 455 | 475 | 500 |
| Stack (mm) | 600 | 615 | 625 | 635 |
| Effective Top Tube Length (mm) | 576 | 604 | 629 | 660 |
| Seat Tube Length (mm) | 380 | 410 | 450 | 490 |
| Chainstay Length (mm) | 432 | 432 | 432 | 432 |
| Head Tube Angle | 64.5° | 64.5° | 64.5° | 64.5° |
| Seat Tube Angle | 76° | 76° | 76° | 76° |
| Bottom Bracket Drop (mm) | 10 | 10 | 10 | 10 |
| Wheelbase (mm) | 1201 | 1231 | 1257 | 1289 |
| Standover Height (mm) | 740 | 740 | 740 | 750 |
| Head Tube Length (mm) | 95 | 110 | 120 | 130 |
| Fork Travel (mm) | 160 | 160 | 160 | 160 |
| Rear Shock Travel (mm) | 150 | 150 | 150 | 150 |
| Max Tire Size (inches) | 29 x 2.6 | 29 x 2.6 | 29 x 2.6 | 29 x 2.6 |
Fine-Tuning Your Ride
Experimenting with Compression Settings
Adjust the compression damping to find the balance between responsiveness and stability. Experiment with different settings to understand their impact on your ride.

Finding the Right Rebound Damping
Proper rebound damping prevents your suspension from packing down after compressions. Find the right balance to maintain traction and control.
Tweaking for Different Terrain
Adapt your coil shock settings to various terrains. Softer settings may suit rough trails, while firmer settings can enhance efficiency on smoother paths.
Maintenance and Care
Regularly inspect and maintain your coil shock to ensure its longevity and performance. Clean and lubricate as recommended by the manufacturer.
Riding Techniques to Maximize Coil Shock Benefits
Utilize active riding techniques to take full advantage of your coil shock setup. Use your body positioning and weight distribution to optimize traction and control.
Common Myths about Coil Shocks
Myth 1: Coil Shocks are Only for Downhill
Coil shocks are versatile and can be used for various styles of riding, not limited to downhill biking. Their benefits extend to trail, enduro, and all-mountain riding as well.
Myth 2: Coil Shocks are Heavier than Air Shocks
While it’s true that coil shocks are generally heavier, advancements in materials and design have minimized the weight difference. The performance gains often outweigh the slight weight increase.
Embracing the Transition Sentinel Coil Setup: Real Riders’ Stories
Discover real-life accounts of riders who have embraced the Transition Sentinel coil shock setup. Learn from their experiences and gain insights into the transformation of their rides.
Conclusion
Embracing the coil shock setup on your Transition Sentinel can unlock a new realm of performance and enjoyment. By understanding the benefits, following proper setup procedures, and fine-tuning your suspension, you can elevate your mountain biking experience to greater heights.
FAQs
Q: Can I switch back to an air shock after using a coil shock?
A: Yes, Transition Sentinel frames are designed to accommodate both air and coil shocks.
Q: Will a coil shock improve my climbing ability?
A: While coil shocks excel in descending, proper setup can also enhance climbing performance.
Q: How often should I service my coil shock?
A: Regularly check your manufacturer’s recommendations; typically, a yearly service is recommended.
Q: Can I use my current fork with a coil shock setup?
A: Yes, the front suspension is independent of the rear shock setup.
Q: Can I switch back to an air shock after using a coil shock?
A: Absolutely, just ensure you select the appropriate spring rate for your weight.