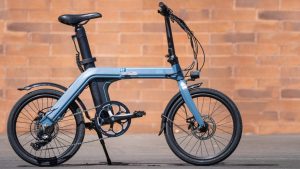
In recent years, tubeless technology has wholly changed the mountain bike industry by enhancing tyre performance, puncture resistance, and weight reduction. Anyone who is considering going tubeless can find all the information they want in this post, including information on tubeless setup, adhesive, rim tape, and more.
As the name implies, installing tubeless tyres on your mountain bike(Make a Mountain Bike Faster) enables you to ignore the inner tubes and use a system where the air is contained inside the tyre, not a tube. Several significant advantages result from this, not the least of which include improved puncture resistance and improved grip. You have undoubtedly already heard the phrase “tubeless-ready” if you’re considering shifting to a tubeless configuration. The term “tubeless-ready” (also abbreviated as “TR” or “TC”) designates tyres or wheels that can function both with and without a tube.
Quick Definitions Of Certain Terminologies Related To Tubeless Tyres
- Tubeless Setup: A sealed system that enables you to use inner tubes-free wheels
- Tyre Sealant: Small perforations in a tubeless design are sealed by tubeless sealant. To stop air leakage, it coats the tire’s interior and seals the area where the rim and tyre bead meet.
- Tubeless Valves: Your tubeless system requires tubeless valves. They are merely inserted through the valve hole in the rim and fastened with a threaded lock-nut.
- Tubeless Rim Tape: In a tubeless system, rim tape is essential because it guarantees that the rim bed is secured, preventing air leakage through the spoke apertures.
- Tubeless-ready: A designation indicating that a product is prepared for tubeless conversion and engineered to function with or without tubes is called tubeless-ready.
- Tyre Sidewall: The smooth portion of the tyre between the bead and the edge of the tread is known as the sidewall. While some sides are slightly porous and require a sealant to keep the air, others are nearly airtight.
- Tyre Casing: The tyre’s support system. It dramatically affects cornering stability, puncture protection, weight, and the form and structure of the tyre.
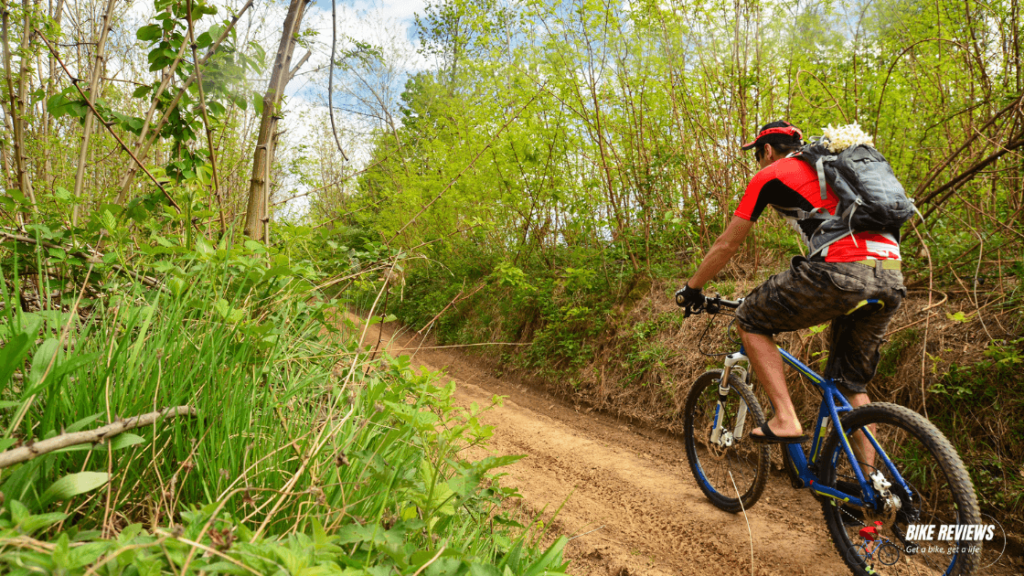
Tubeless Tyres Advantages & Disadvantages

True, there are benefits and drawbacks to using tubes. However, for most riders, tubeless’ benefits far outweigh its disadvantages. Is tubeless the way to go, or should you choose tyres with no tubes instead? What are the benefits and drawbacks of a tubeless setup? Let’s know the answer.
Advantages
With a tubeless configuration, you can get the most out of your tyres’ performance. Tubeless tyres can run at lower pressure, which improves grip and comfort. Since there is no tube to get caught between obstruction and the rim and create the feared snakebite, a tubeless system is also less likely to puncture (even while operating at lower pressures) than a tubed tyre. Since tubes are expensive, it may be more cost-effective in the long run to operate tubeless if snakebites are a frequent occurrence on your rides.
When a little puncture does happen, the sealant covers it right away. In reality, installing tubeless tyres on your MTB can lower your rolling resistance in addition to making them less prone to punctures. Compared to higher (tubed) tyre pressures where the bicycle has to work up, and over the obstacle, a lower tyre pressure allows the tyre to flex better around impediments, allowing the tyre to deflect and glide over them more quickly, saving you a small bit of energy. Other benefits include:
- Greater Puncture Resistance
- Enhanced Grip
- Decreased Rolling Resistance
- Self-Sealing System
- Likely More Affordable for Most Riders
Drawbacks
The biggest drawback of a tubeless system is the complex installation and maintenance. Although the initial cost of valves, tape, and sealant is not excessive, if your bike does not already have tubeless-ready tyres and rims, the entire cost will quickly increase. A tubeless setup requires routine maintenance, much like any other component of your bicycle. Lack of maintenance might cause the sealant to dry up and the valves to become clogged, which will reduce the effectiveness of the performance and sealing. Some tyre and rim combinations call for a specialized compressor or tubeless inflator pump for the initial installation. You should check the tyre pressure of your MTB because tubeless installations can leak a little air between rides before every ride. Other drawbacks include:
- Setup Can Be Costly and Requires More Maintenance
- Installation Is More Difficult Compared with A Tube System
- Loss of Air Between Rides
Setting Up a Tubeless Tyre
Ensure you have the required supplies and tools before attempting to install your tubeless system. You’ll need tubeless-compatible rims, tyres (select the best tubeless tyre for you with our tyre group test), sealant, and a set of tubeless valves. You will need to install tubeless-specific rim tape if your rims are not already taped; otherwise, the rim bed won’t be airtight. You might require a tubeless inflator pump to inflate the tyre properly. The installation of the tubeless system is quite simple, but minor issues can make it much trickier.
A quick checklist for setting up the tubeless system is shared below:
- A compatible rim and tire
- Tubeless sealant
- A high-volume inflator
- Tubeless valves
- Tubeless tape
- Tire lever
Step 1: Taping the Rim
Ensure your rims are very dry and clean before applying the tubeless tape, and confirm that the tape corresponds to your rim’s internal width. To ensure no debris or oily residue is left in the rim bed, use isopropyl alcohol and a clean towel. Then, carefully apply the tape 12 cm (5″) at a time, starting 5 cm to the left of the valve hole. Tape in a clockwise direction while using even pressure to make sure the tape is under tension. Use your thumb to firmly push down the area you just treated while keeping your tension up. Proceed with this until you reach the beginning of the tape. Cut the tape gently after that, and apply pressure firmly.
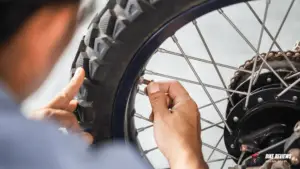
Step 2: Installing the Tubeless Valve
Use a pointed round pick to carefully pierce the tape where the valve hole is located (or similar). Instead of cutting a long, brittle slice in the tape with a knife or razor, using a round spike to make the valve hole assures a neat, circular puncture. Make sure the base of the valve lies flush with the rim tape as you carefully insert the valve into the rim and through the valve hole. Add the valve lock-nut after that, and tighten it to finger-tightness. Never attempt this task with pliers or other tools; otherwise, you run the danger of destroying your priceless carbon rims or becoming caught in the middle of a ride with a mechanical and an impossible-to-loosen lock-nut.
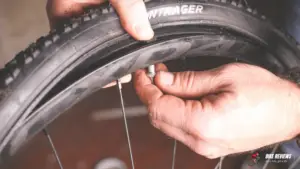
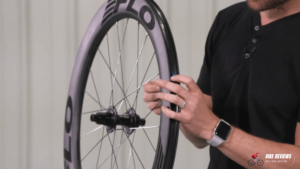
Step 3: Mounting the Tyre

Verify the orientation arrow on the tire’s sidewall before mounting it. Install one side of the tyre by placing one bead into the rim. As a pro tip, ensure the logo on your tyre is parallel to the valve. The other tyre bead should be pushed into the rim using both hands, beginning opposite the valve. The tyre bead can be driven deeply into the rim by resting the rim on your legs or the ground. It will become harder as you go nearer the valve. To give yourself the most wiggle room to attach the final piece of the tyre bead, ensure both tyre beads are seated as deeply in the rim as feasible.
Step 4: Adding the Tubeless Sealant
The valve should be added straight through for the quickest and cleanest manner to install tubeless sealant. Simply remove the valve core and inject sealant into the valve using a nozzle bottle or sealant injector. Reinstall the valve core after that. An alternative is to add the sealant before the last bead segment is inserted into the tyre. For each tyre, we advise using 80–120 ml of sealant. Using less sealant to save weight is not worthwhile because doing so will significantly lower the system’s efficacy.
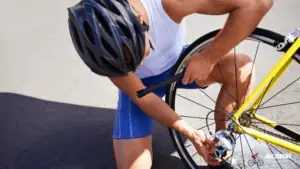
Step 5: Inflating the Tyre
Your tyre has to be inflated at this point. It is a lot simpler if you use a tubeless inflator pump. However, some tyre and rim combinations can also be inflated with a typical track pump. You can remove the valve core to improve airflow if your tyre is difficult. After the tyre has been filled, spin and shake the wheel to ensure that the sealant has evenly coated the tire’s interior. Pro tip: After properly inflating the tyre, test the setup by going for a brief ride to allow the sealant to coat the tyre.
Pressure in Tubeless Tyres?
You, the rider, are the only one who knows what the ideal tyre pressure should be. However, there are a number of elements to take into account in order to determine your ideal tyre pressure:
- Weight
A rider with a lightweight physique can get away with running less pressure, whereas a heavier rider will need to run somewhat higher pressure to achieve the same outcome. A rider’s weight has an impact on both their tyre pressure and suspension.
- The Trials
Your ideal tyre pressure will significantly influence the terrain you ride on. You can get away with running slightly reduced pressures if you mostly ride smooth, hard-packed flow trails, as long as your tyres keep their shape through the corners. To safeguard your tyres and rims, you should use higher pressures if you routinely ride trails with more rocks than a pebble beach.
- Riding Style
Your riding technique also has an impact on the pressure. Run greater pressures to safeguard your components if you are notorious for hucking too flat or taking the straightest path through every rock garden. Running lower pressures can give you better grip and comfort if your riding style is a little more precise and “light”.
Fixing a Tubeless Puncture

- Puncture in Sidewall or Tyre Tread
This type of puncture is brought on by tiny thorns, jagged pebbles, or other trail hazards. In fact, the tubeless sealant in your tyres may have already sealed a small puncture while you were out on the trail without realising it. You will need a tubeless plug kit if the hole is too large for the sealant to fix on its own, which is frequently the result of a pinch flat. Find the hole (or holes) and remove any nearby dirt as the first step. To minimise air loss while riding with a friend, ask them to keep their finger over it. The tyre plug should then be immediately threaded through the plug installer.
There are two methods for plugging the tyre, depending on the size of the hole & the plugs. Smaller punctures should be repaired by inserting the plug all the way inside the tyre. Once the plug is seen, gradually draw the installer out until 5 to 10 mm are exposed. Hold the plug with your fingers, then remove the installer. When using larger plugs to repair larger punctures, insert the plug well past halfway into the tyre, leaving a “V” form, and then take the installer out.
- Burping
There are two potential causes: either you were driving with very low tyre pressure, which would have compromised the stability of your tyre, or you just struck the turn hard. Anyhow, the solution is straightforward. All you have to do to continue riding is re-inflate the tyre. Additionally, it would be best to top off your sealant before your subsequent ride because you probably lost some during the burp. Even with high tyre pressures, if you frequently burp, your tyre may be too broad for your rim width.
- Cut in the Sidewall
Long, pointed rocks that cut a long slit into the tire’s sidewall result in a cut sidewall. Tire plugs and sealant cannot plug these large punctures. Installing a tube and taking a ride home are your only options. If the incision is large, try putting some tape, plastic, etc., between the tyre and the tube to protect it. You can attempt to repair the tyre at home, depending on the extent of the damage, by thoroughly cleaning the tyre on the inside and out, roughening up the interior with sandpaper, and putting a tyre patch with vulcanizing glue. If not, the tyre is a total loss.
Conclusion
Since the tubeless insert will adequately cushion the rim and tyre, improved pinch flat protection is the key benefit of using one. The greatest inserts also lessen the likelihood of a tyre burping and aid in boosting sidewall stability. They safeguard the rim and tyre equally while enabling you to run at even lower pressures. If a puncture occurs while wearing an insert, you can roll back if necessary on the flat tyre.